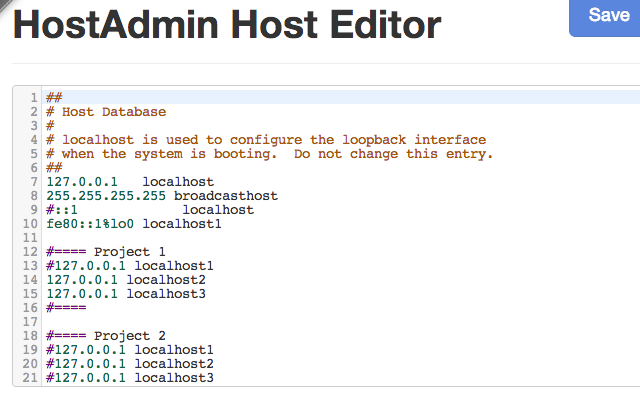
CDN’s can sometimes be difficult to work with when building WordPress sites, which is why we offer the option to bypass the CDN layer and work directly on the site. Editing your hosts file allows you to override the DNS for a domain. To do this you’ll need to edit your host file or use a browser plugin to be able to directly access the server your website is being hosted on.
IMPORTANT: You should not use these IP addresses anywhere other than in your hosts file.Option 1: Browser Extension (Easier)
Simply install the browser plugin from below links:
Chrome VersionFirefox VersionIf you are using a different browser you’ll need to find a plugin that does something similar.
Within your account, simply click on the domain you want to work on to see the More Details screen, where we have “CDN Bypass Details” box. Simply copy and paste the two lines of that code snippet into your HostAdmin Host Editor.
In the plugin, you can directly edit your host file and once you save, it will refresh your DNS.
 From the plugin description:
By using HostAdmin to switch Hosts, the Hosts need to have write access.
Here is a guide for you to gain write privilege for Windows 10 or Linux users:
http://code.google.com/p/fire-hostadmin/wiki/GAIN_HOSTS_WRITE_PERMOption 2: Edit Hosts File
Within your account, simply click on the domain you want to work on to see the More Details screen, where we have “CDN Bypass Details” box. Simply copy and paste the code snippet into your Host File using one of the methods below.
Windows 8 and 10
- Use the Search option and search for Notepad.
- Right-click Notepad and select Run as administrator.
- From Notepad, open the hosts file at: C:\Windows\System32\Drivers\etc\hosts
- Add the code snippet and save your changes.
Linux
- Open up the Terminal.
- Use your favourite command line text editor to open up the hosts file. Then type the following line in the terminal (the command will require your Linux user's password):
- Add the code snippet in the hosts file.
- Use the Control and X key combination to save the changes and exit
Mac OS X 10.6 through 10.12
You should be logged in with a user with administrator privileges on your Mac.
- Open Applications -> Utilities -> Terminal.
- Use your favourite command line text editor to open up the hosts file. Then type the following line in the terminal (the command will require your Mac user's password):
- sudo nano /private/etc/hosts
- Add the code snippet in the hosts file.
- Save the changes and exit with the Control and X key combination.
